

Shrinkage is one of those quiet profit leaks that doesn’t show up on the dock but is certain to hit your P&L hard.
And it’s easy to see why when you peek at the numbers.
Just a half-percent of shrink in a 50M operation equals $250,000 gone forever.
And shrink doesn’t just affect your bottom line.
It throws off your forecasting, inflates your safety stock, and chips away at your service levels. But the good news is that you can measure it, find the root cause, and put reasonable controls in place.
In this guide, we break down what inventory shrinkage is, how to calculate it, what ‘acceptable’ shrinkage looks like by real-world standards, and where it usually starts.
Then, we’ll dive deep into the playbook to control it by improving your traceability and reducing mispicks and ‘mystery losses’ that drive variance.
This is the most complete guide to warehouse inventory shrinkage.
Are you ready to get started?
Let’s open your spreadsheets and dive in.
Inventory Shrinkage Definition:
Inventory shrinkage is the loss of inventory value caused by theft, damage, miscounts, or process errors, measured as the gap between your recorded inventory and the physical count.
What is Inventory Shrinkage?
Inventory shrinkage is the difference between what your system says you have (your book inventory) and what you actually count on the floor (your physical inventory).
A mix of theft, damage, miscounts, process errors, and supplier short shipments usually causes that gap. And it quietly erodes your margins.

Shrinkage = your book inventory – your physical inventory
How to Calculate Your Inventory Shrinkage
To calculate your shrinkage, you’ll want to first determine what valuation method your finance team is using. This will likely be FIFO, LIFO, or weighted average. Consistency is much more important than the method you use.
Inventory Shrinkage Formulas:
Shrink (units) = Book quantity − Physical quantity
Shrink (value) = (Book qty − Physical qty) × Unit cost
Shrink rate (%) = Shrink value ÷ Total inventory value × 100
Inventory Shrinkage Example:
Need to see some numbers? No problem.
Let’s say you calculate your book inventory value at $2,000,000. And your physical inventory value is $1,960,000.
- Book inventory value: $2,000,000
- Physical inventory value: $1,960,000
- Shrink value = $2,000,000 − $1,960,000 = $40,000
- Shrink rate = $40,000 ÷ $2,000,000 × 100 = 2.0%
If you prefer to measure by units, try this example instead:
- Book quantity: 5,000 units @ $8 avg cost
- Physical quantity: 4,850 units
- Shrink units = 5,000 − 4,850 = 150 units
- Shrink value = 150 × $8 = $1,200
- Shrink rate = $1,200 ÷ (5,000 × $8 = $40,000) × 100 = 3.0%

How to Physically Calculate Shrinkage on the Floor
If you need more guidance on how to actually (physically) calculate shrinkage on your warehouse floor, we can help there as well. Here’s the step-by-step process we recommend.
- First, set your scope and timing. You’ll want to define which locations/SKUs you’re counting and the time window (e.g., end of month).
- Then, freeze all movements. Pause transactions in the area you’re counting or use count-in-progress controls. This can be disruptive, so try to choose a time that won’t uproot operations.
- Now, it's time to count and reconcile your numbers. Perform physical counts of your inventory, investigate any big variances, and correct obvious data issues (like UoM errors, open picks).
- Calculate shrink using the formulas above with your approved unit costs.
- Record the variance in your system and the journal entry (we’ll cover accounting next).
- Track your shrink rate by zone/ABC class, not just company-wide.
Surprised by your numbers? That could be your real shrinkage number. But there are important nuances that can affect your calculations.

Here are just a few to consider:
- In-transit & quarantine: Exclude POs not received, WIP, and quarantined/hold stock from the “available to sell” pool, or count them separately.
- Returns & RMAs: Keep returns in a separate status/location until dispositioned to avoid double-counting.
- Valuation alignment: If you run standard cost, use standard; if you run weighted average, use the current weighted average at count time.
- Partial packages & conversions: Unit-of-measure errors (case vs. each) are a classic source of phantom shrink—double-check conversions.
- Cycle counts vs. wall-to-wall: Cycle counts give you more frequent, believable trend data than annual physicals (and less operational whiplash).
If your annual shrink rate is >1% or spikes month-over-month in a specific zone or SKU class, you likely have a mix of access issues (theft) and process errors (misreceipts/mispicks) worth investigating.
These are perfect candidates for tightening controls and moving high-value SKUs into secure, guided storage later in this guide.
What Causes Warehouse Inventory Shrinkage?
If you have a shrinkage problem, we have good news and bad news. The good news? Once you identify the issue, there are tangible steps you can take to help prevent it moving forward. The bad news? There is rarely a single cause of shrinkage, which means your solution may need to be multifaceted.
Now that you’ve calculated your shrinkage, let’s talk about some of the most common culprits and how to address them.
Theft and Diversion Shrinkage
This is when high-value or pocketable items “walk” away. This usually happens near packing, will-call, or your maintenance cages. You might also find a problem with theft shrinkage near returns or damaged goods.
|
Indicators of Theft Shrinkage |
How to Address Theft Shrinkage |
|
|
Process and Data Error Shrinkage
Sometimes, shrinkage is a data issue, not a theft issue. This can happen with misreceipts, wrong UoM, missed backflush, incorrect putaway, or when your staff is picking from the wrong location.
When your process isn’t perfect, shrinkage happens as a result of phantom inventory or untracked consumption.
|
Indicators of Process and Data Error Shrinkage |
How to Address Process and Data Shrinkage |
|
|
Damage, Expiry, and Environmental Shrinkage
This shrinkage is due to things like breakage, spills, humidity or temperature exposure, or expired lots that force write-offs. This type of shrinkage is especially concerning for fragile, perishable, controlled, and ESD-sensitive goods.
|
Indicators of Environmental Shrinkage |
How to Address Environmental Shrinkage |
|
|
Supplier and Inbound Shrinkage
Sometimes, shrinkage isn’t an internal issue. Supplier and inbound shrinkage can happen if you receive short shipments, incorrect pack quantities, or when substitutions land in your bins without the appropriate corrections in your inventory management system. This can create permanent variance leading to shrinkage.
|
Indicators of Inbound Shrinkage |
How to Address Inbound Shrinkage |
|
|
People, Layout, and Policy Shrinkage
This type of shrinkage is common when there’s open picking near doors, unclear SOPs, and unclear or missing segregation of duties for your warehouse staff. These can create mistakes and opportunistic loss, leading to shrinkage.
|
Indicators of People, Layout, and Policy Shrinkage |
How to Address People, Layout, and Policy Shrinkage |
|
|
.jpg?width=1200&height=675&name=Kardex_img_customer_Vekoma_07-1200x675-128554e%20(1).jpg)
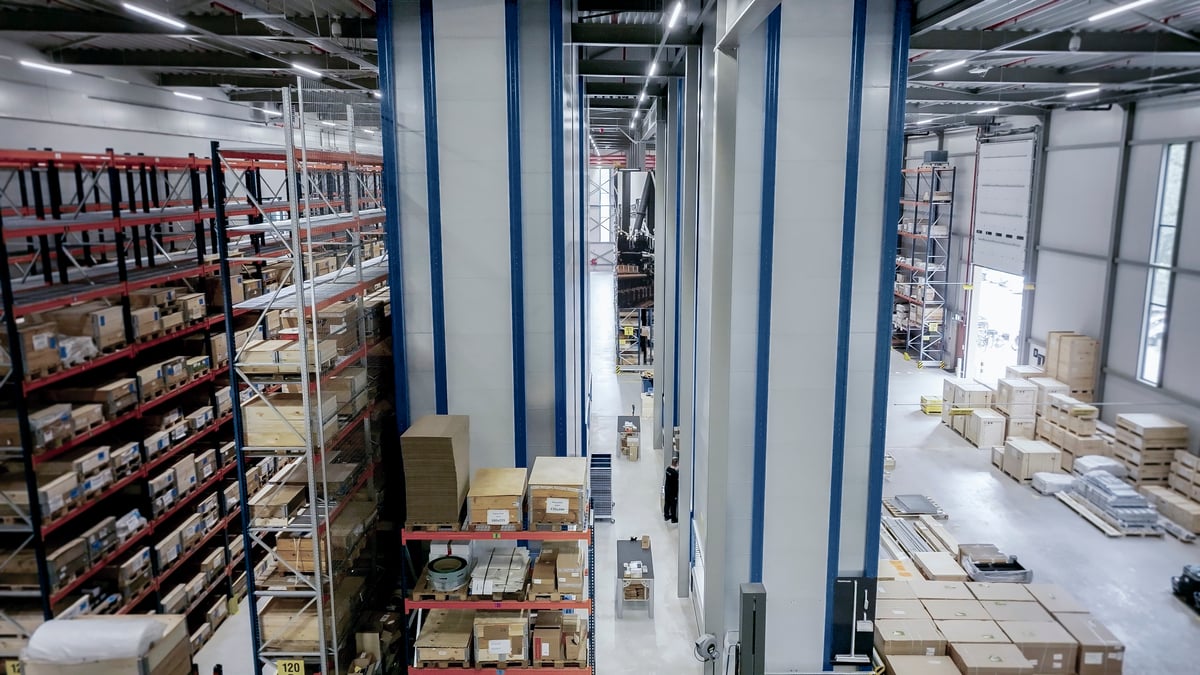
Automated Storage and Retrieval is the Key to All Shrinkage Types
Vertical Lift Modules (VLMs)can tackle every root cause of shrinkage at once. They secure access to high-value SKUs, guide every single pick to reduce errors, and create a comprehensive audit trail for who did what and when. 33% of Kardex Remstar customers saw ROI in just 3 months, and 80% in the first year.

For a deeper dive: Streamlining Inventory Management with ASRS Technology
What Is an Acceptable Warehouse Shrinkage Rate?
There’s no one-size benchmark, but here’s a practical way to frame it:
Many best-in-class operations aim for ≤0.5%–1.0% of inventory value annually.
But context matters. In high-mix, fast-change environments (like e-commerce peaks and complex assemblies), you may see higher shrinkage rates. But it should trend down with controls.
It’s a good idea to evaluate your current shrinkage and then set targets by area and by ABC class. (Your A items should be the tightest.)
If you’re over 1% company-wide or if a specific zone is trending up month-over-month, it’s a signal to tighten your process controls and move your high-value/high-shrink SKUs into secure, guided storage (like a VLM).
For a deeper dive: From Chaos to Clarity: Enhancing Inventory Accuracy and Stock Visibility

How to Control Warehouse Inventory Shrinkage
We covered a few ways for you to tackle shrinkage by issue type. But there are several ways your team can systematically address and tackle a more systemic shrinkage issue.
Here’s a focused, do-first plan you can start running with this week:
1. Implement Process Controls
The goal here is to build repeatable, standardized habits that prevent the errors that cause shrinkage before they happen.
- Standardize your receiving: Verify every receipt in two steps. Use count by weight or piece count. Match to the ASN. And then put any mismatch into quarantine. Most importantly: do not put it away until it is resolved.
- Implement barcode discipline: Follow a simple rule: no scan, no move. We recommend that you turn off free-text item entry. And consider requiring scans for receiving, putaway, picking, and adjustments.
- Try directed putaway and slotting: Remove floating locations for A or secure SKUs. And use fixed, labeled locations with photo standards.
- Cycle counting by ABC:
- A items: weekly or every other week
- B items: monthly
- C items: quarterly
- Use count cause codes and reconcile before you post adjustments.
- Segment employee duties: Keep your counters, posters, and approvers separate. And add approval thresholds. For example, any variance over $1,000 could require a supervisor.
- Try returns triage: Accept RMAs only. Receive into quarantine with a required disposition code such as restock, repair, or scrap.
- Manage your variances: Open a CAPA or 8D automatically for high-dollar or repeat issues. Make sure that you also assign an owner and a due date.
For a deeper dive: How ASRS Reduces Stockouts and Overstocks in Warehouses


2. Implement Physical and Technological Controls
The goal of this section is to use your technology to limit access and create more visibility into your processes so that you can more effectively trace every move.
- Review your access control: This can be easy to implement with the right technology in place. Consider using badges or PINs for high-value zones. Log access by user and time.
- Use CCTV at docks and pack-out: Are your problem areas properly covered with cameras? Align your camera timestamps with WMS events to speed up your investigations.
- Roll out tamper seals and weight checks: Seal your highest risk SKUs so that tampering is more evident. You can also verify carton or pallet weights against expected values.
- Use Automated Storage and Retrieval Systems (ASRS): Automated storage is the easiest way to bring your technology up to par. There are several options you can consider, depending on your shrinkage issue and inventory type:
- Vertical Lift Module (VLM): VLMs offer secure, goods-to-person picking with full audit trails.
- Vertical Carousel Module (VCM): Excellent high density storage for frequent access parts.
- Vertical Buffer Module (VBM): VBMs are a great fit for tote handling on fast e-commerce lines.
For a deeper dive: 4 Benefits of ASRS in Real-Time Inventory Tracking and Control

3. Make Sure Your Data is Clean
If bad data is your shrinkage culprit, these tactics will help you to eliminate your phantom shrink.
- Implement master data audits: Validate your units per case, alternate UoMs, conversion factors, and GTINs.
- Implement transaction controls: Block negative issues. And force backflushes to post at completion.
- Audit your location integrity: Like one item per primary pick slot for A items. Use clear pictures and labels.
4. Supplier and Inbound Discipline
The goal here is to catch problems at the dock so that they don’t contaminate your stock levels.
- Implement vendor scorecards: Track and score vendor ASN accuracy, short or over rates, and pack compliance.
- Build a graceful quarantine: Keep your mismatched receipts on hold. Do not fix them by adjusting on the fly.
- Build repack standards: Validate your inner pack counts. Then, standardize labels for partial cartons.
5. People and Policy Changes
If people are the problem, there are steps you can take to help everyone achieve success. Here are a few of our favorite tactics:
- Implement training sprints: Run short, recurring sessions on scanning, cycle count SOPs, and variance reasons.
- Run shift huddles: Review yesterday’s variances and today’s hot SKUs. Keep it short and effective: around five minutes.
- Set clear consequences: Publish a policy for access violations and unauthorized adjustments. And then enforce it consistently.
Inventory Shrinkage Quick Start Order:
- Lock in barcode discipline and segregation of duties.
- Launch ABC cycle counting with cause codes.
- Quarantine mismatched receipts and standardize returns.
- Secure high-value SKUs with a Vertical Lift Module (VLM) or another ASRS that fits your profile.
- Track KPIs weekly and review them in shift huddles.

How Vertical Lift Modules (VLMs) Reduce Inventory Shrinkage
A Vertical Lift Module (VLM) brings goods directly to you inside an enclosed, access-controlled cabinet. Shifting from open shelving to controlled, guided access changes the game. You reduce theft opportunities, cut out guesswork, and make every transaction traceable.
1. Secure, controlled access
The VLM stores inventory inside a steel enclosure with a single access window. You can add shutters or doors for extra security. Users log in with a badge or PIN, and you decide who can view, pick, or supervise. You can also block after-hours activity and require dual authorization for sensitive items. This setup limits opportunistic grabs and ties every interaction to a specific user, which makes accountability real.
2. Guided, error-proof picking
With goods-to-person delivery, you stop walking aisles and searching. The VLM presents the right tray to your access window, and pick-to-light or laser pointers highlight the exact compartment. On-screen confirmations keep you on track, and optional weight verification flags overpicks and underpicks the moment they happen. Fewer touches lead to fewer miscounts, so those “mystery” adjustments start to disappear.
3. Full traceability with Inventory Management Software
Pair the VLM with the Kardex Power Pick System to capture a complete audit trail. You see who picked what, when it was picked, and from which tray or location. You can record lot or serial numbers, attach photos when needed, and enforce exception workflows with mandatory reason codes. User-level permissions and audit-ready reports give you the visibility to investigate a variance instead of writing it off.
4. Protection against damage and environmental loss
Because inventory sits inside an enclosed cabinet, it is better protected from dust and humidity. You can add ESD options for electronics to prevent static-related failures. The access window presents items at a safe, ergonomic height, which helps reduce drops and crush damage. Less damage means fewer write-offs and cleaner counts for fragile or sensitive SKUs.
5. A fit for your highest-risk inventory
A VLM is ideal for high-value or pocketable items, regulated components, and any SKU that shows up again and again in your variance reports. It shines in electronics, medical devices, aerospace, MRO, aftermarket parts, and busy e-commerce lines. If you start by moving your top loss drivers into the VLM, you will see tighter control and faster improvements in shrink-related KPIs.

How to Implement a Vertical Lift Module for Inventory Shrinkage
If we’ve sold you on a VLM, that’s great news.
But how do you get started? It’s easier than you think.
Here are our pro tips from our implementation team on using a VLM for inventory shrinkage:
- Pick the right candidate SKUs: Start with the inventory that gives you the biggest win. High-value items, fast-moving small parts, and controlled components are perfect for a Vertical Lift Module (VLM). Add any SKU that shows up over and over in your variance reports. These are the chronic shrink offenders that benefit most from secure, guided access.
- Design trays for countability and protection: Plan your tray layout so counting is simple and fast. Use totes and dividers to keep one SKU per compartment whenever possible. Clear labels and a photo database reduce mistakes. If you store electronics or ESD-sensitive parts, equip trays with ESD protection and follow your grounding standards. The goal is a clean presentation that supports quick verification.
- Set access rules that match your risk: Use role-based permissions so pickers, supervisors, and auditors have the right level of access. Sensitive SKUs should require dual authorization and time-based rules that restrict after-hours activity. Everyone who uses the VLM should authenticate with a badge or PIN, so every action ties back to a user.
- Train your team on process and exceptions: Give operators a short, hands-on session that covers count procedures, pick confirmations, and how to handle exceptions. In Kardex Power Pick System, enable reason codes, lot or serial capture, and exception workflows for shorts and overpicks. Train supervisors on approvals and audit reports so investigations are quick and consistent.
- Lead the change with a clear “why”: Explain why the shift matters. You are improving security, accuracy, and speed. Share baseline metrics before you switch and report improvements weekly. Celebrate early wins, like fewer manual adjustments and cleaner cycle counts. The more your team sees the payoff, the faster adoption sticks.
Shrink does not have to be a mystery or a sunk cost
When you tighten processes, clean up data, and secure your highest risk SKUs in a Vertical Lift Module (VLM), you turn shrinkage into a manageable KPI. You get better count accuracy, fewer manual adjustments, and clear audit trails that your team can act on. Start with the SKUs that drive most of your variance, set simple rules in your inventory software, and track results by zone so you can expand what works.
If you want hands-on guidance, we can visit your facility at no cost. We will walk through your process, pinpoint shrink hot spots, identify candidate SKUs for a VLM, and outline a right-sized plan with layout ideas and an estimated ROI.
Explore our site visit brochure for more information.
